ノートブック・ユーティリティー
このノートブックには、OpenVINO™ ノートブックで使用するヘルパー関数とクラスが含まれています。コードは、このノートブックと同じディレクトリーにある notebook_utils.py ファイルと同期されます。
次の 4 つのカテゴリーがあります。
各カテゴリーには、セクション内の関数の使用方法も示すテストセルが含まれます。
#### 内容:
# Install requirements
%pip install -q "openvino>=2023.1.0" opencv-python
%pip install -q pillow tqdm requests matplotlib
DEPRECATION: pytorch-lightning 1.6.5 has a non-standard dependency specifier torch>=1.8.*. pip 24.1 will enforce this behaviour change. A possible replacement is to upgrade to a newer version of pytorch-lightning or contact the author to suggest that they release a version with a conforming dependency specifiers. Discussion can be found at https://github.com/pypa/pip/issues/12063
Note: you may need to restart the kernel to use updated packages.
ファイル
画像のロード、ファイルのダウンロード、OpenVINO IR モデルのダウンロード、ダウンロードの進行状況を示す進行状況バーを作成します。
import os
import shutil
from PIL import Image
from notebook_utils import load_image, download_file, download_ir_model
??load_image
??download_file
??download_ir_model
ファイル関数のテスト
model_url = "https://storage.openvinotoolkit.org/repositories/openvino_notebooks/models/002-example-models/segmentation.xml"
download_ir_model(model_url, "model")

assert os.path.exists("model/segmentation.xml")
assert os.path.exists("model/segmentation.bin")
model/segmentation.bin: 0%| | 0.00/1.09M [00:00<?, ?B/s]
url = "https://github.com/intel-iot-devkit/safety-gear-detector-python/raw/master/resources/Safety_Full_Hat_and_Vest.mp4"
if os.path.exists(os.path.basename(url)):
    os.remove(os.path.basename(url))
video_file = download_file(url)
print(video_file)
assert os.path.exists(video_file)
Safety_Full_Hat_and_Vest.mp4: 0%| | 0.00/26.3M [00:00<?, ?B/s]
/opt/home/k8sworker/ci-ai/cibuilds/ov-notebook/OVNotebookOps-609/.workspace/scm/ov-notebook/notebooks/utils/Safety_Full_Hat_and_Vest.mp4
url = "https://raw.githubusercontent.com/openvinotoolkit/openvino_notebooks/main/README.md"
filename = "openvino_notebooks_readme.md"
if os.path.exists(filename):
    os.remove(filename)
readme_file = download_file(url, filename=filename)
print(readme_file)
assert os.path.exists(readme_file)
openvino_notebooks_readme.md: 0%| | 0.00/16.3k [00:00<?, ?B/s]
/opt/home/k8sworker/ci-ai/cibuilds/ov-notebook/OVNotebookOps-609/.workspace/scm/ov-notebook/notebooks/utils/openvino_notebooks_readme.md
url = "https://raw.githubusercontent.com/openvinotoolkit/openvino_notebooks/main/README.md"
filename = "openvino_notebooks_readme.md"
directory = "temp"
video_file = download_file(
    url, filename=filename, directory=directory, show_progress=False, silent=True
)
print(readme_file)
assert os.path.exists(readme_file)
shutil.rmtree("temp")
/opt/home/k8sworker/ci-ai/cibuilds/ov-notebook/OVNotebookOps-609/.workspace/scm/ov-notebook/notebooks/utils/openvino_notebooks_readme.md
url = "https://storage.openvinotoolkit.org/repositories/openvino_notebooks/data/data/image/coco.jpg"
image = load_image(url)
Image.fromarray(image[:, :, ::-1])
画像
ピクセルデータ変換
画像のピクセル値を 0 から 1 の間で正規化し、画像を RGB と BGR に変換します。
import numpy as np
from notebook_utils import normalize_minmax, to_rgb, to_bgr
??normalize_minmax
??to_bgr
??to_rgb
データ変換関数のテスト
test_array = np.random.randint(0, 255, (100, 100, 3))
normalized_array = normalize_minmax(test_array)

assert normalized_array.min() == 0
assert normalized_array.max() == 1
bgr_array = np.ones((100, 100, 3), dtype=np.uint8)
bgr_array[:, :, 0] = 0
bgr_array[:, :, 1] = 1
bgr_array[:, :, 2] = 2
rgb_array = to_rgb(bgr_array)

assert np.all(bgr_array[:, :, 0] == rgb_array[:, :, 2])

bgr_array_converted = to_bgr(rgb_array)
assert np.all(bgr_array_converted == bgr_array)
ビデオ
ビデオプレイヤー
FPS 要件を満たすカスタム・ビデオ・プレーヤーです。ターゲット FPS と出力サイズを設定したり、ビデオを水平方向に反転したり、最初の N フレームをスキップしたりできます。
import cv2
from IPython.display import Image, clear_output, display
from notebook_utils import VideoPlayer

??VideoPlayer
ビデオプレイヤーをテスト
video = "https://storage.openvinotoolkit.org/repositories/openvino_notebooks/data/data/video/Coco%20Walking%20in%20Berkeley.mp4"

player = VideoPlayer(video, fps=15, skip_first_frames=10)
player.start()
for i in range(50):
    frame = player.next()
    _, encoded_img = cv2.imencode(".jpg", frame, params=[cv2.IMWRITE_JPEG_QUALITY, 90])
    img = Image(data=encoded_img)
    clear_output(wait=True)
    display(img)

player.stop()
print("Finished")
Finished
可視化
セグメント化
セグメント化プロジェクト/データセットのラベルとカラーマップを保持する SegmentationMap NamedTuple を定義します。CityScapesSegmentation と BinarySegmentation SegmentationMaps を作成します。セグメント化マップを colormap を含む RGB イメージに変換し、セグメント化の結果を元のイメージ上のオーバーレイ表示する関数を作成します。
from notebook_utils import CityScapesSegmentation, BinarySegmentation, segmentation_map_to_image, segmentation_map_to_overlay
??Label
Object Label not found.
??SegmentationMap
Object SegmentationMap not found.
??CityScapesSegmentation
print(f"cityscapes segmentation lables: \n{CityScapesSegmentation.get_labels()}")
print(f"cityscales segmentation colors: \n{CityScapesSegmentation.get_colormap()}")
cityscapes segmentation lables:
['road', 'sidewalk', 'building', 'wall', 'fence', 'pole', 'traffic light', 'traffic sign', 'vegetation', 'terrain', 'sky', 'person', 'rider', 'car', 'truck', 'bus', 'train', 'motorcycle', 'bicycle', 'background']
cityscales segmentation colors:
[[128  64 128]
 [244  35 232]
 [ 70  70  70]
 [102 102 156]
 [190 153 153]
 [153 153 153]
 [250 170  30]
 [220 220   0]
 [107 142  35]
 [152 251 152]
 [ 70 130 180]
 [220  20  60]
 [255   0   0]
 [  0   0 142]
 [  0   0  70]
 [  0  60 100]
 [  0  80 100]
 [  0   0 230]
 [119  11  32]
 [255 255 255]]
??BinarySegmentation
print(f"binary segmentation lables: \n{BinarySegmentation.get_labels()}")
print(f"binary segmentation colors: \n{BinarySegmentation.get_colormap()}")
binary segmentation lables:
['background', 'foreground']
binary segmentation colors:
[[255 255 255]
 [  0   0   0]]
??segmentation_map_to_image
??segmentation_map_to_overlay
ネットワークの結果
ネットワーク結果の画像を、オプションでソース画像およびラベル付きの凡例とともに表示します。
from notebook_utils import viz_result_image

??viz_result_image
可視化関数のテスト
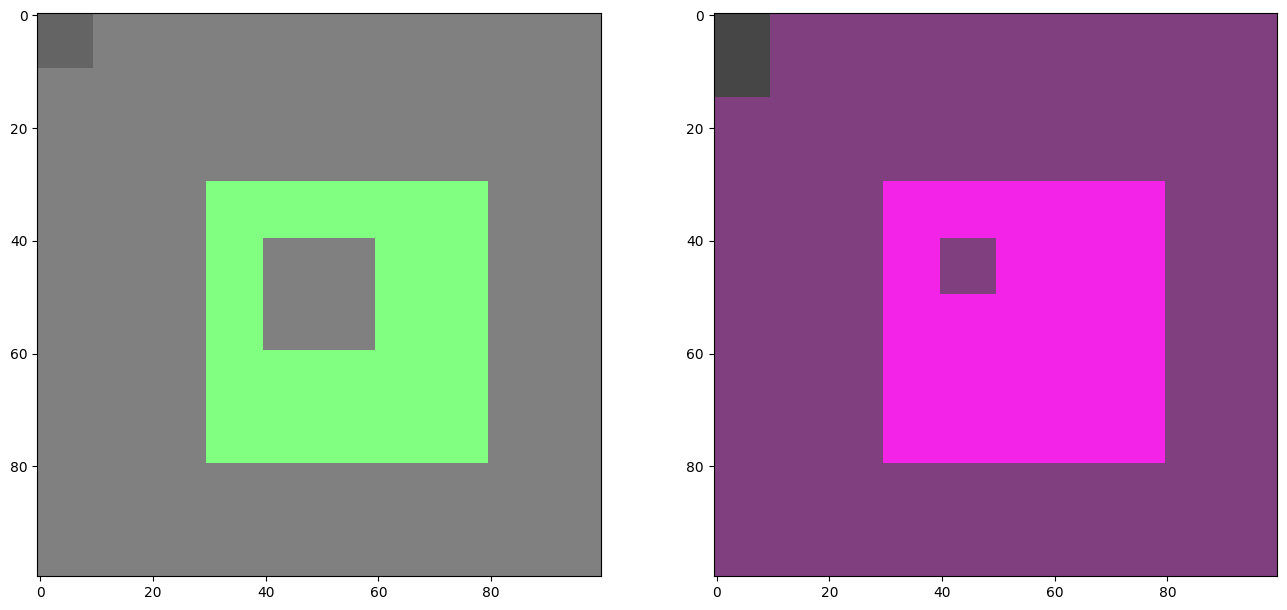
testimage = np.zeros((100, 100, 3), dtype=np.uint8)
testimage[30:80, 30:80, :] = [0, 255, 0]
testimage[0:10, 0:10, :] = 100
testimage[40:60, 40:60, :] = 128
testimage[testimage == 0] = 128
testmask1 = np.zeros((testimage.shape[:2]))
testmask1[30:80, 30:80] = 1
testmask1[40:50, 40:50] = 0
testmask1[0:15, 0:10] = 2
result_image_overlay = segmentation_map_to_overlay(
image=testimage,
result=testmask1,
alpha=0.6,
colormap=np.array([[0, 0, 0], [255, 0, 0], [255, 255, 0]]),
)
result_image = segmentation_map_to_image(testmask1, CityScapesSegmentation.get_colormap())
result_image_no_holes = segmentation_map_to_image(
testmask1, CityScapesSegmentation.get_colormap(), remove_holes=True
)
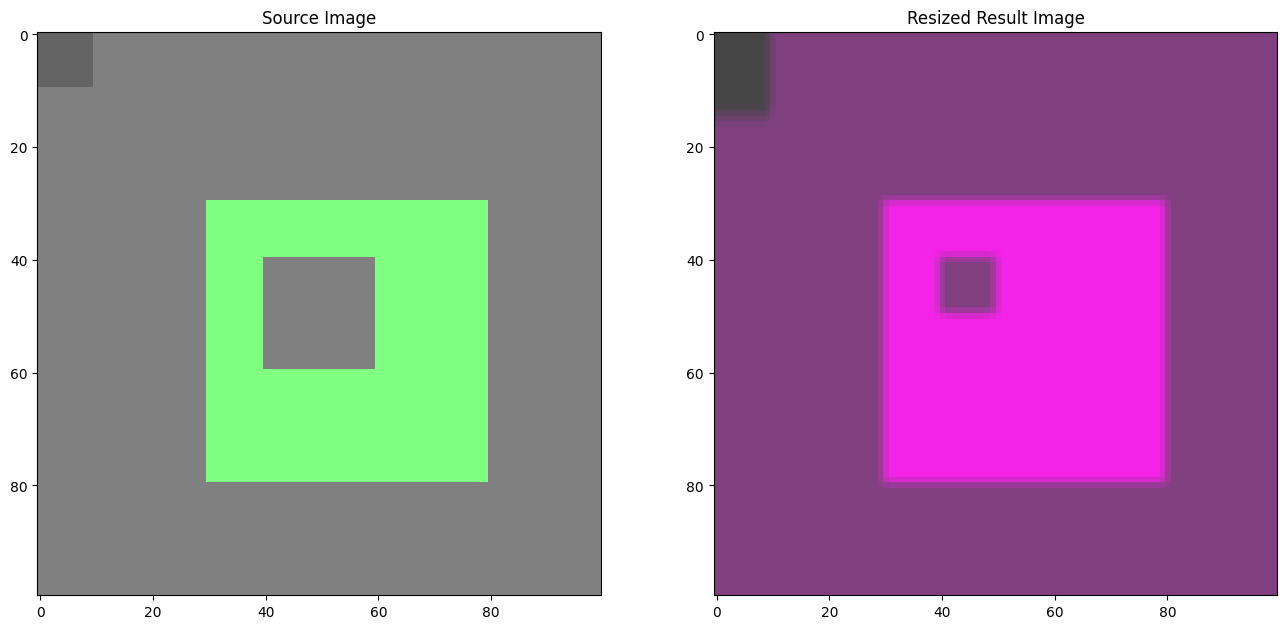
resized_result_image = cv2.resize(result_image, (50, 50))
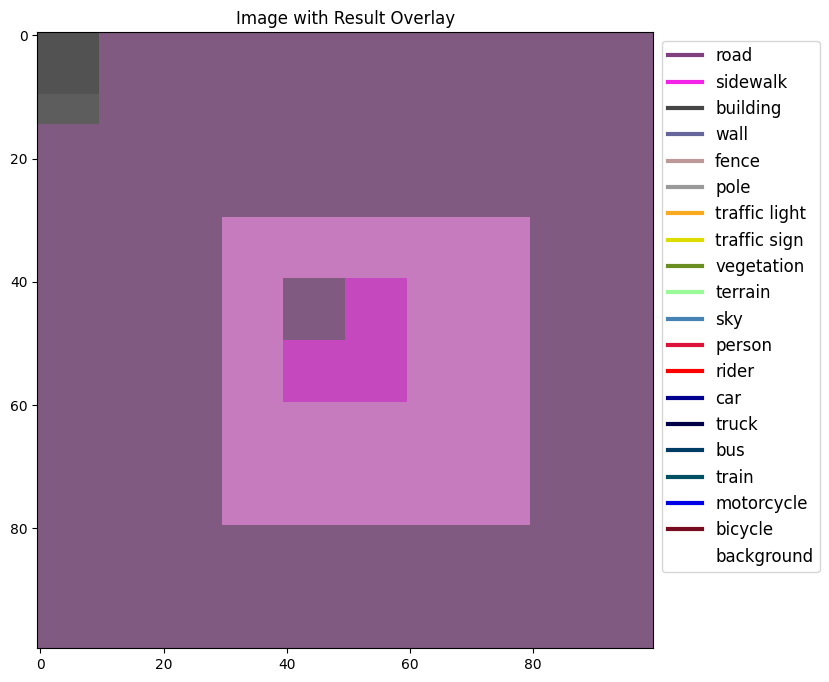
overlay_result_image = segmentation_map_to_overlay(
testimage, testmask1, 0.6, CityScapesSegmentation.get_colormap(), remove_holes=False
)
fig1 = viz_result_image(result_image, testimage)
fig2 = viz_result_image(result_image_no_holes, testimage, labels=CityScapesSegmentation)
fig3 = viz_result_image(
resized_result_image,
testimage,
source_title="Source Image",
result_title="Resized Result Image",
resize=True,
)
fig4 = viz_result_image(
overlay_result_image,
labels=CityScapesSegmentation,
result_title="Image with Result Overlay",
)
display(fig1, fig2, fig3, fig4)
チェックとアラート
定型化された情報/エラー/警告メッセージを表示するアラートクラスと、特定のデバイスが利用可能かどうかを確認する check_device 関数を作成します。
from notebook_utils import NotebookAlert, DeviceNotFoundAlert, check_device, check_openvino_version
??NotebookAlert
??DeviceNotFoundAlert
??check_device
??check_openvino_version
アラートをテスト
NotebookAlert(message="Hello, world!", alert_class="info")
DeviceNotFoundAlert("GPU");
Hello, world!
このセルを実行するには GPU デバイスが必要ですが、このシステムでは利用できません。次のデバイスが利用可能です: CPU
assert check_device("CPU")
if check_device("HELLOWORLD"):
    print("Hello World device found.")
このセルを実行するには HELLOWORLD デバイスが必要ですが、このシステムでは使用できません。次のデバイスが利用可能です: CPU
check_openvino_version("2022.1");
このノートブックには OpenVINO 2022.1 が必要です。システムのバージョンは、2023.3.0-13775-ceeafaf64f3-releases/2023/3 です。
openvino_env 環境で pip install --upgrade -r requirements.txt を実行してください。詳細な手順については、OpenVINO ノートブックの README を参照してください。
openvino_env 環境で pip install --upgrade -r requirements.txt を実行してください。詳細な手順については、OpenVINO ノートブックの README を参照してください。