OpenVINO™ による画像のインペインティング
この Jupyter ノートブックはオンラインで起動でき、ブラウザーのウィンドウで対話型環境を開きます。ローカルにインストールすることもできます。次のオプションのいずれかを選択します。


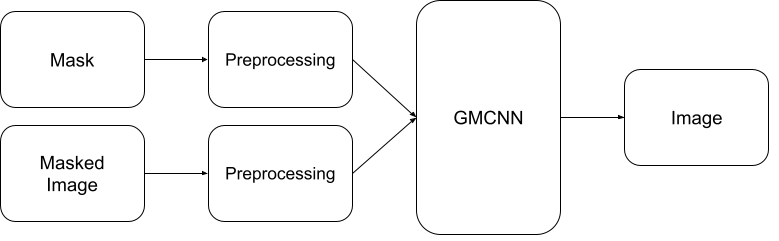
このノートブックでは、Open Model Zoo の GMCNN モデルを使用して、OpenVINO で画像インペイント・モデルを使用する方法を説明します。このモデルは、改ざんされた画像を与えると、元の画像に非常に似たものを生成できます。このノートブックでは次のパイプラインが使用されます。
目次
%pip install -q "openvino>=2023.1.0" "opencv-python" "matplotlib"
[notice] A new release of pip is available: 23.2.1 -> 23.3.1
[notice] To update, run: pip install --upgrade pip
Note: you may need to restart the kernel to use updated packages.
import sys
from pathlib import Path

import cv2
import matplotlib.pyplot as plt
import numpy as np
from zipfile import ZipFile
import openvino as ov

sys.path.append("../utils")
import notebook_utils as utils
モデルのダウンロード
gmcnn-places2-tf をダウンロードし (モデルがすでにダウンロードされている場合、この手順はスキップできます)、解凍します。ダウンロードされたモデルは TensorFlow 凍結グラフ形式で保存されます。この凍結されたグラフを元のモデルのチェックポイントから取得する手順は、この手順にあります。
# A directory where the model will be downloaded.
base_model_dir = "model"
# The name of the model from Open Model Zoo.
model_name = "gmcnn-places2-tf"

model_path = Path(f"{base_model_dir}/public/{model_name}/frozen_model.pb")
if not model_path.exists():
    model_url = f"https://storage.openvinotoolkit.org/repositories/open_model_zoo/public/2022.1/gmcnn-places2-tf/{model_name}.zip"
    utils.download_file(model_url, model_name, base_model_dir)
else:
    print("Already downloaded")

with ZipFile(f'{base_model_dir}/{model_name}' + '', "r") as zip_ref:
    zip_ref.extractall(path=Path(base_model_dir, 'public', ))
Already downloaded
Tensorflow モデルを OpenVINO IR 形式に変換
事前トレーニングされたモデルは TensorFlow 形式です。OpenVINOで使用するには、モデル変換APIを使用してOpenVINO IR 形式に変換します。モデル変換の詳細については、このページを参照してください。モデルがすでに変換されている場合、このステップもスキップできます。
model_dir = Path(base_model_dir, 'public', 'ir')
ir_path = Path(f"{model_dir}/frozen_model.xml")

# Run model conversion API to convert model to OpenVINO IR FP32 format, if the IR file does not exist.
if not ir_path.exists():
    ov_model = ov.convert_model(model_path, input=[[1,512,680,3],[1,512,680,1]])
    ov.save_model(ov_model, str(ir_path))
else:
    print(f"{ir_path} already exists.")
model/public/ir/frozen_model.xml already exists.
モデルのロード
ここで、OpenVINO IR モデルをロードし、次を実行します。
次で OpenVINO ランタイム (コア) を初期化します。
*.binと*.xmlファイルからネットワークを読み取ります (重みとアーキテクチャー)。“CPU” のモデルをコンパイルします。
入力ノードと出力ノードを取得します。
モデルを実行するには、数行のコードで済みます。
core = ov.Core()

# Read the model.xml and weights file
model = core.read_model(model=ir_path)
import ipywidgets as widgets

device = widgets.Dropdown(
    options=core.available_devices + ["AUTO"],
    value='AUTO',
    description='Device:',
    disabled=False,
)

device
Dropdown(description='Device:', index=2, options=('CPU', 'GPU', 'AUTO'), value='AUTO')
# Load the model on to the device
compiled_model = core.compile_model(model=model, device_name=device.value)
# Store the input and output nodes
input_layer = compiled_model.input(0)
output_layer = compiled_model.output(0)
モデルの入力形状を決定
両方の入力形状が同じであることに注意してください。ただし、2 番目の入力は 1 チャネル (モノトーン) です。
N, H, W, C = input_layer.shape
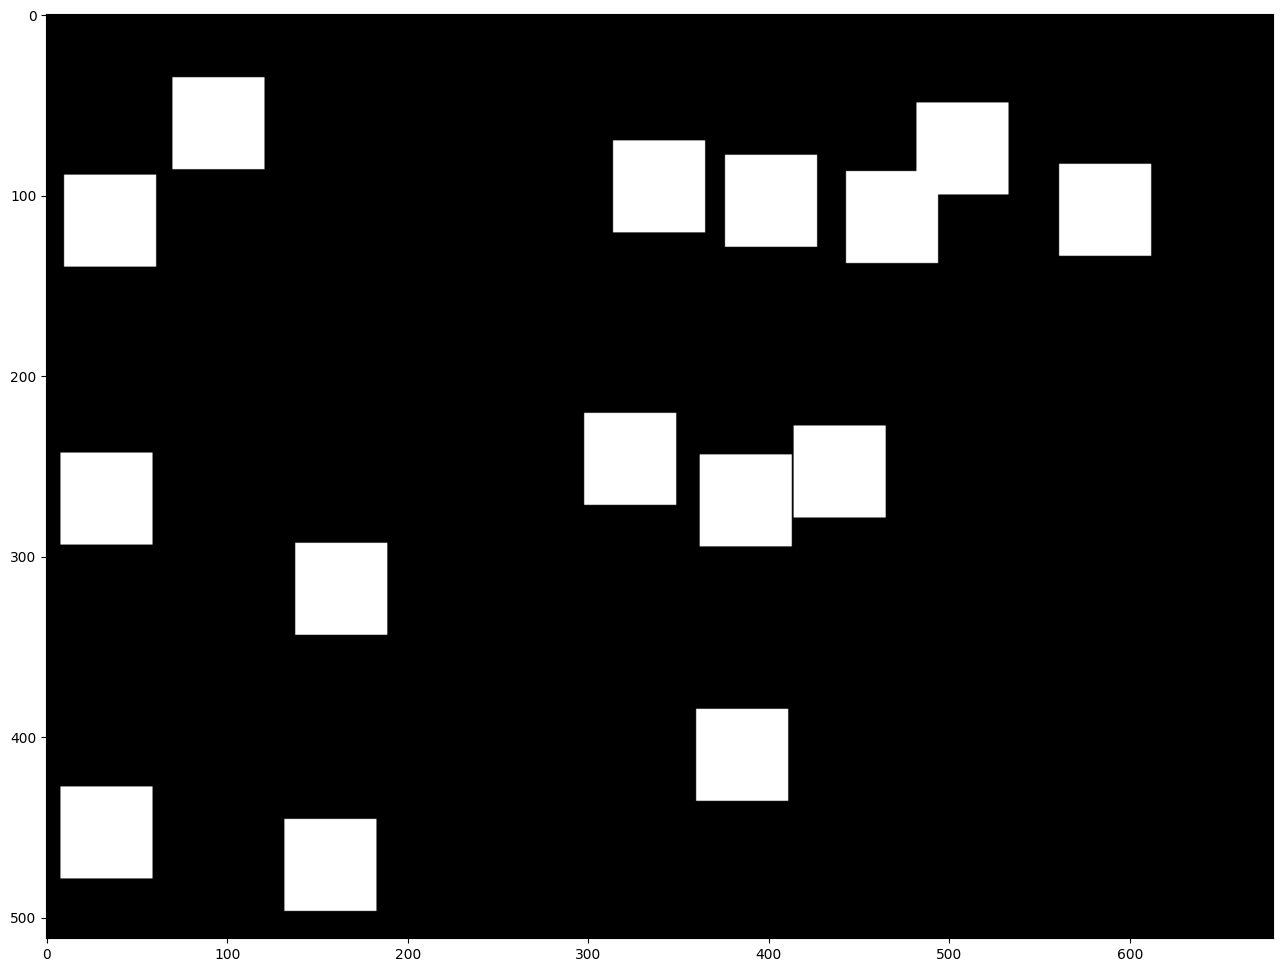
正方形のマスクを作成
次に、元の画像の上に重ねられる単一のチャネルマスクを作成します。
def create_mask(image_width, image_height, size_x=30, size_y=30, number=1):
    """
    Create a square mask of defined size on a random location.

    :param: image_width: width of the image
    :param: image_height: height of the image
    :param: size: size in pixels of one side
    :returns:
            mask: grayscale float32 mask of size shaped [image_height, image_width, 1]
    """

    mask = np.zeros((image_height, image_width, 1), dtype=np.float32)
    for _ in range(number):
        start_x = np.random.randint(image_width - size_x)
        start_y = np.random.randint(image_height - size_y)
        cv2.rectangle(img=mask,
                      pt1=(start_x, start_y),
                      pt2=(start_x + size_x, start_y + size_y),
                      color=(1, 1, 1),
                      thickness=cv2.FILLED)
    return mask
# Generate a square mask of size WxH with number of "holes".
mask = create_mask(image_width=W, image_height=H, size_x=50, size_y=50, number=15)
# This mask will be laid over the input image as noise.
plt.figure(figsize=(16, 12))
plt.imshow(cv2.cvtColor(mask, cv2.COLOR_BGR2RGB));
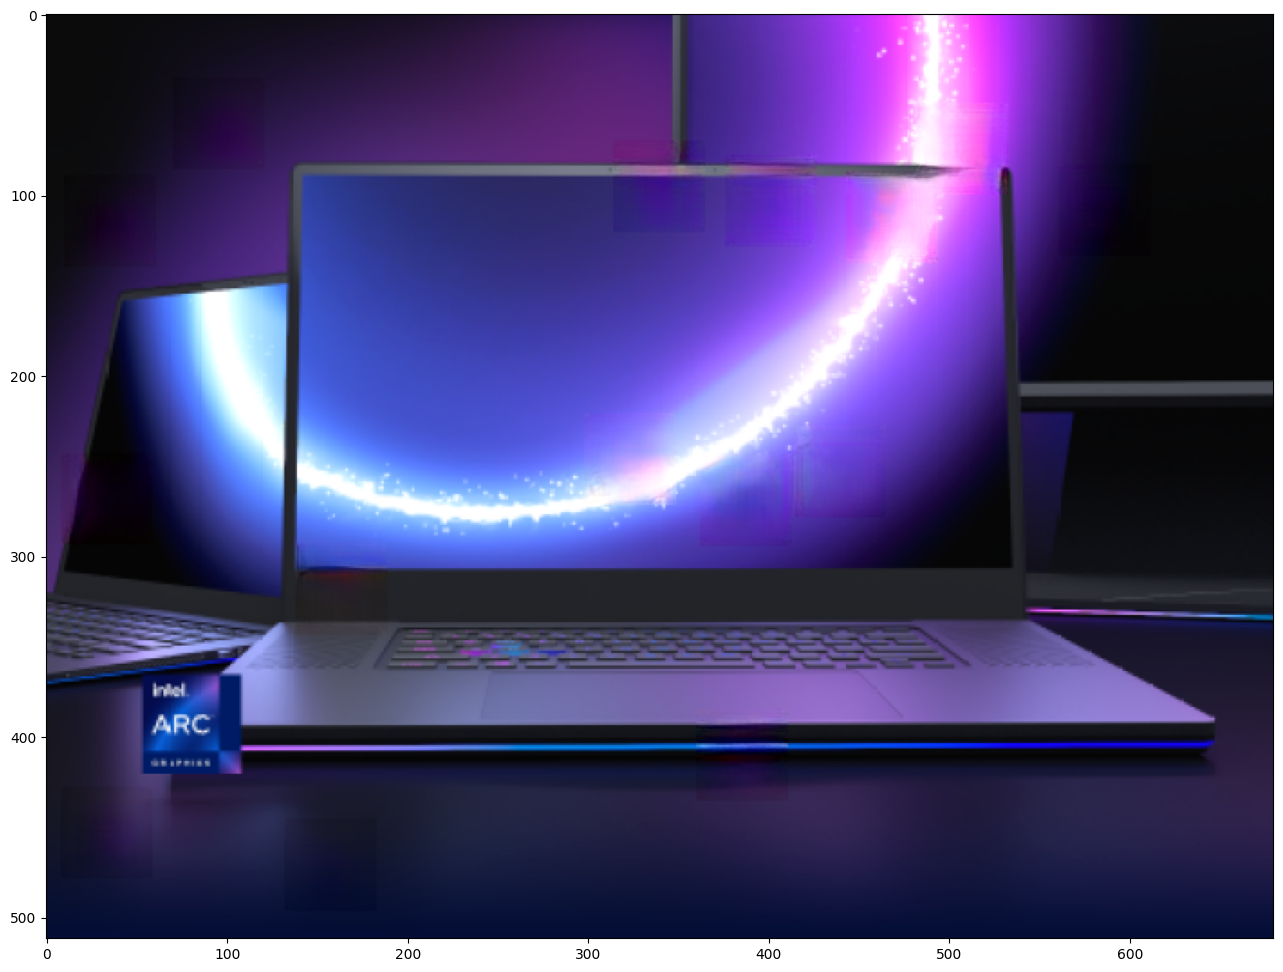
画像をロードしてサイズ変更
この画像はマスクを使用して変更されます。任意の画像を加工できます。以下の URL を変更してください。
img_path = Path("data/laptop.png")

if not img_path.exists():
    # Download an image.
    url = "https://user-images.githubusercontent.com/29454499/281372079-fa8d84c4-8bf9-4a82-a1b9-5a74ad42ce47.png"
    image_file = utils.download_file(
        url, filename="laptop.png", directory="data", show_progress=False, silent=True, timeout=30
    )

# Read the image.
image = cv2.imread(str(img_path))
# Resize the image to meet network expected input sizes.
resized_image = cv2.resize(src=image, dsize=(W, H), interpolation=cv2.INTER_AREA)
plt.figure(figsize=(16, 12))
plt.imshow(cv2.cvtColor(resized_image, cv2.COLOR_BGR2RGB));

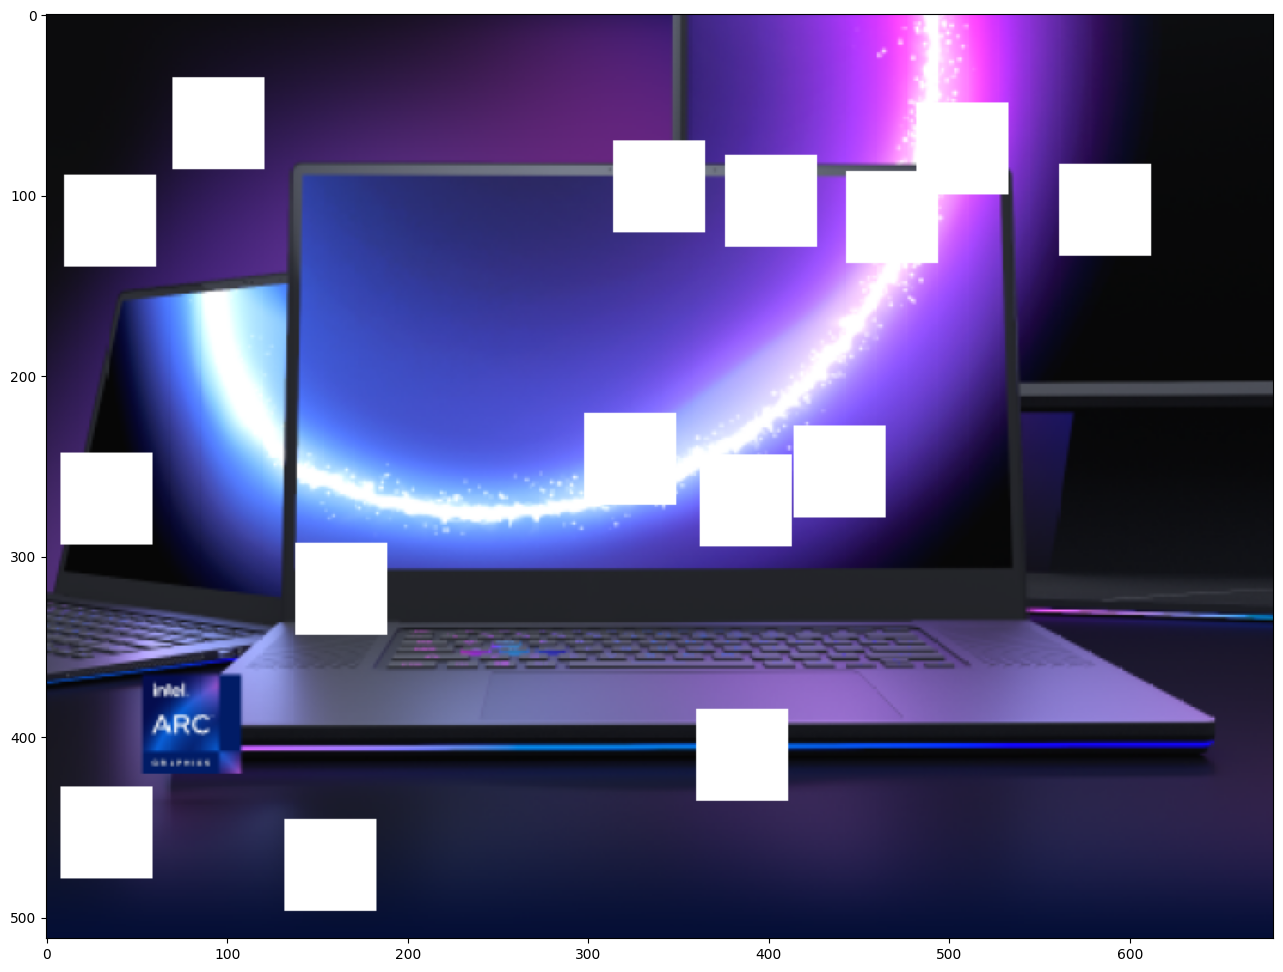
マスクされたイメージの生成
このイメージとマスクを乗算することで、元のイメージの上にマスクされたイメージが重ねられた結果が得られます。masked_image は、GMCNN モデルへの最初の入力になります。
# Generating a masked image.
masked_image = (resized_image * (1 - mask) + 255 * mask).astype(np.uint8)
plt.figure(figsize=(16, 12))
plt.imshow(cv2.cvtColor(masked_image, cv2.COLOR_BGR2RGB));
前処理
モデルは入力次元が NHWC であることを想定しています。
masked_image.shape = (512,680,3) —–> モデルの期待 = (1,512,680,3)
resized_mask.shape = (512,680,1) —–> モデルの期待 = (1,512,680,1)
masked_image = masked_image[None, ...]
mask = mask[None, ...]
推論
指定されたマスクされたイメージとマスクを使用して推論を実行します。次に、復元された画像を表示します。
result = compiled_model([ov.Tensor(masked_image.astype(np.float32)), ov.Tensor(mask.astype(np.float32))])[output_layer]
result = result.squeeze().astype(np.uint8)
plt.figure(figsize=(16, 12))
plt.imshow(cv2.cvtColor(result, cv2.COLOR_BGR2RGB));