Segmind Stable Diffusion 1B (SSD-1B) モデルと OpenVINO による画像生成
この Jupyter ノートブックは、ローカルへのインストール後にのみ起動できます。

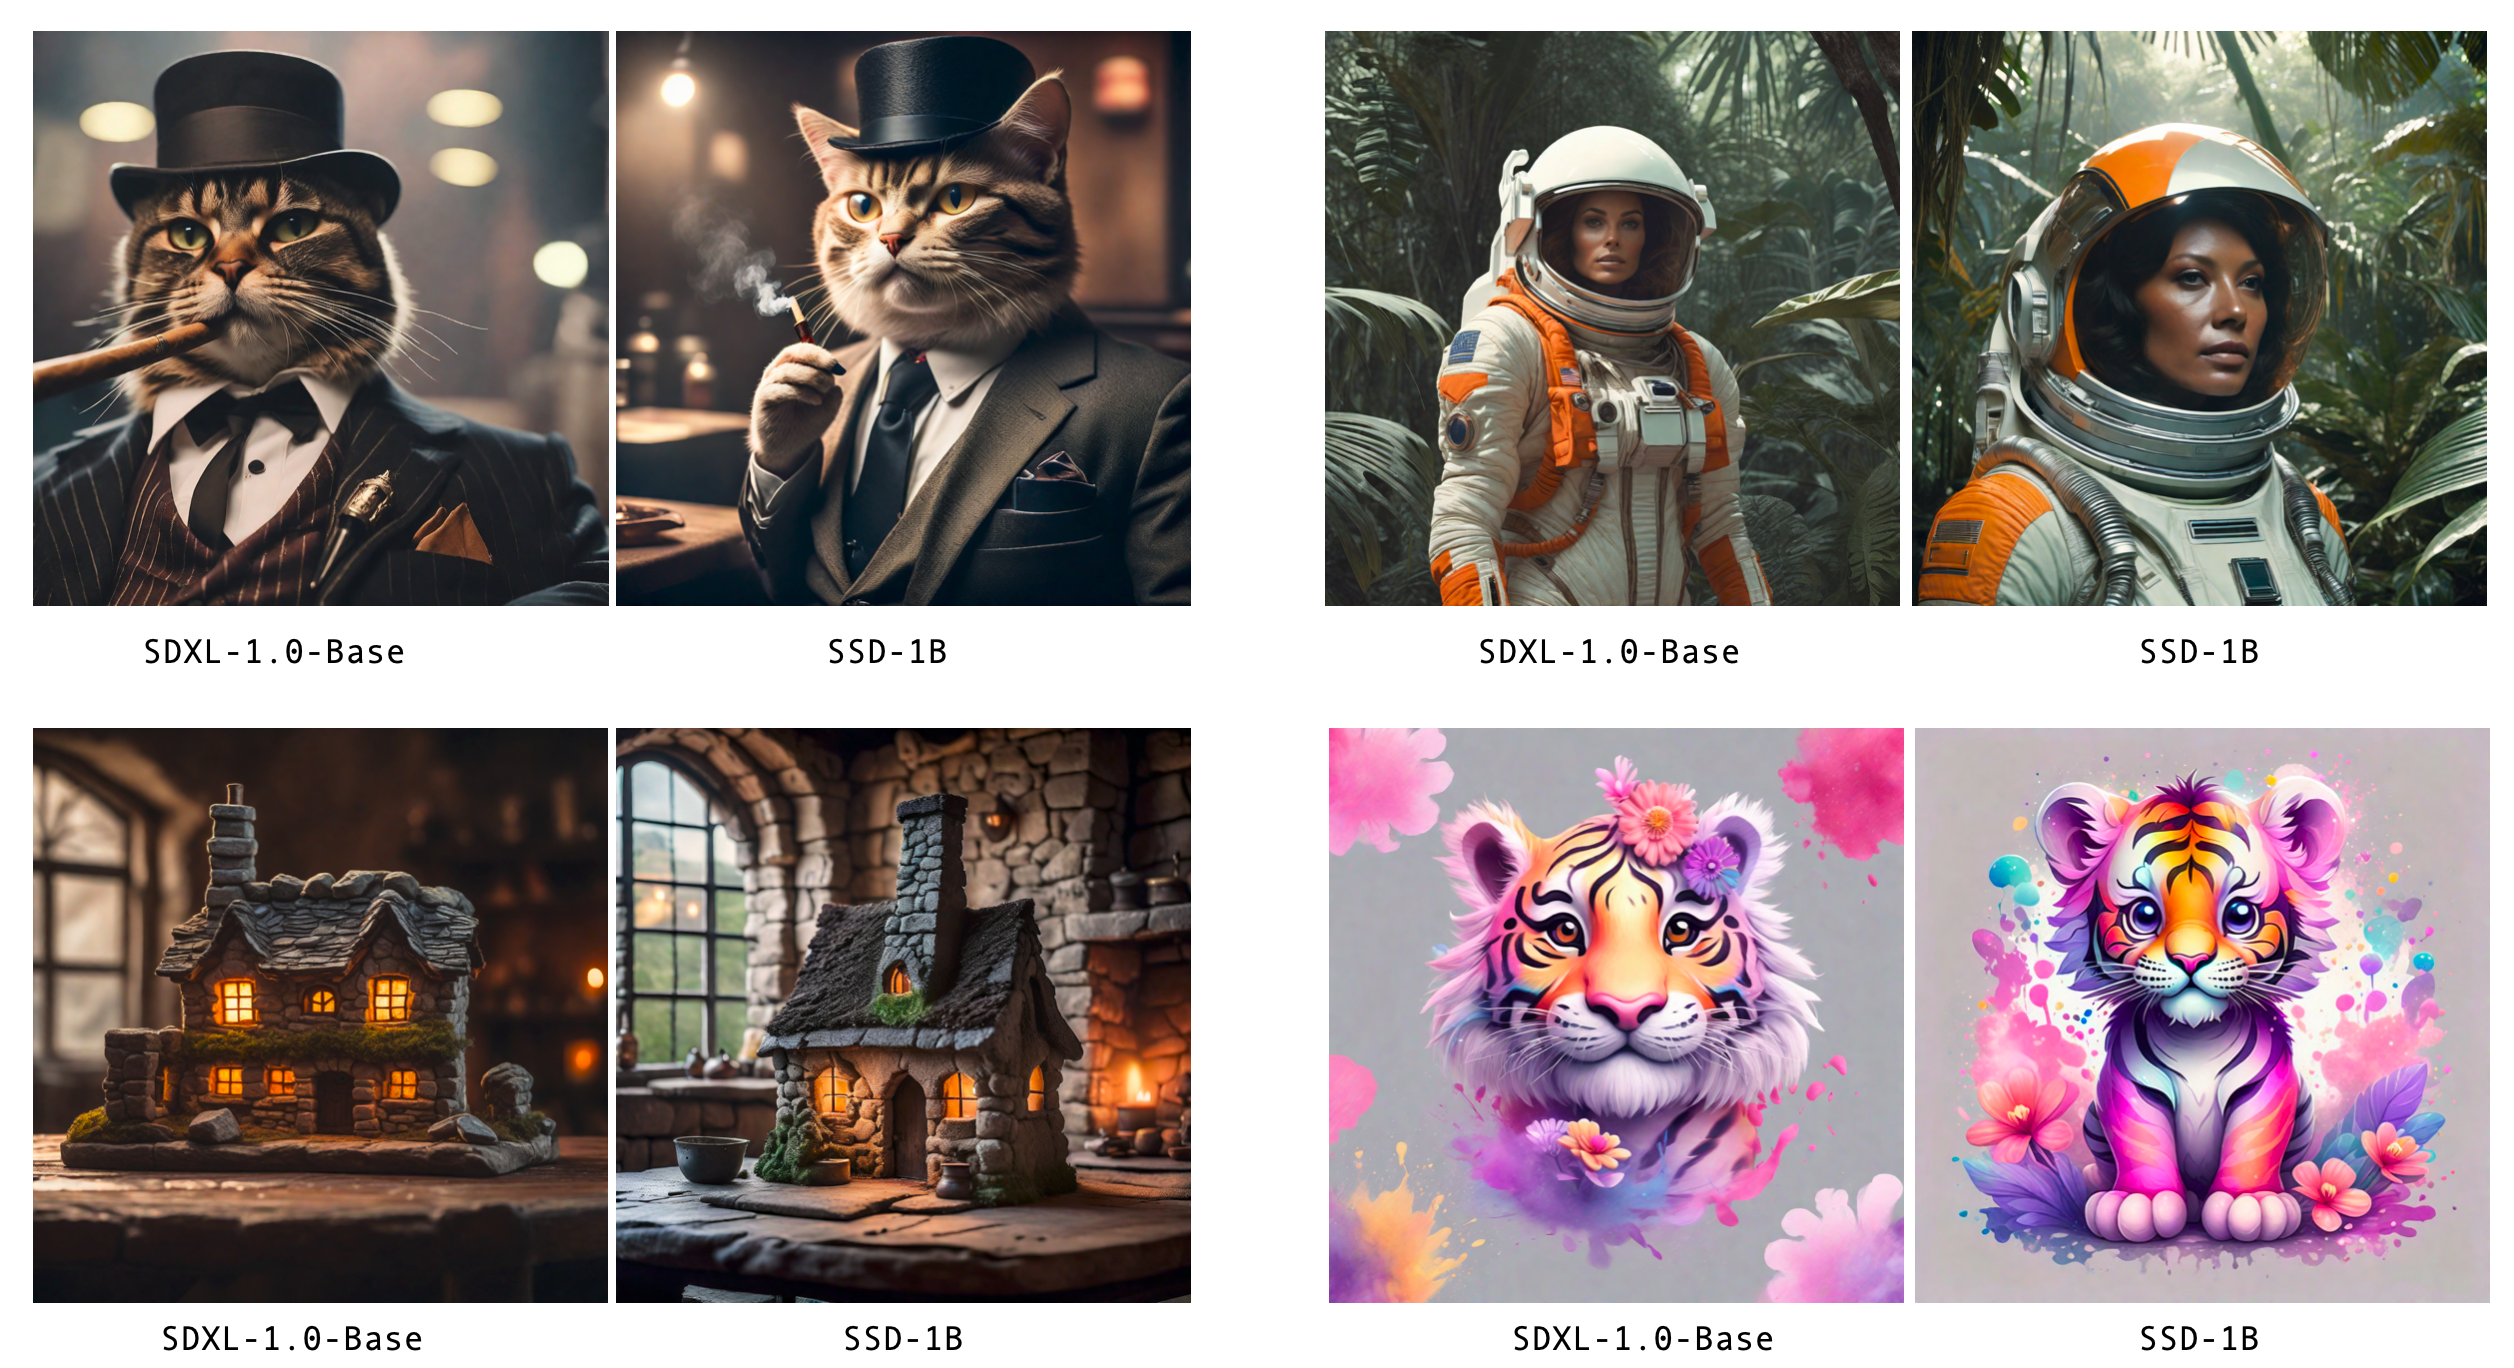
Segmind Stable Diffusion Model (SSD-1B) は、Stable Diffusion XL (SDXL) の 50% 縮小バージョンを抽出したもので、高品質のテキストから画像への生成機能を維持しながら 60% の高速化を実現します。Grit や Midjourney のスクレイピング・データを含む多様なデータセットでトレーニングされており、テキストプロンプトに基づいて幅広いビジュアルコンテンツを作成する能力が強化されています。このモデルは知識蒸留戦略を採用しており、SDXL、ZavyChromaXL、JuggernautXL などの複数のエキスパート・モデルの教えを次々に活用して、それぞれの長所を組み合わせて印象的な視覚出力を生成します。
画像
このチュートリアルでは、OpenVINO を使用して SSD-1B モデルを実行する方法について説明します。次に、推論ステップの数を 2 ~ 8 ステップにまで削減できる segmind/SSD-1B の LCM 抽出バージョンを検討します。
Hugging Face Diffusers ライブラリーの事前トレーニング済みモデルを使用します。ユーザー・エクスペリエンスを簡素化するために、Hugging Face Optimum Intel ライブラリーを使用してモデルを OpenVINO™ IR 形式に変換します。
目次
前提条件のインストール
%pip install -q "git+https://github.com/huggingface/optimum-intel.git"
%pip install -q "openvino>=2023.1.0"
%pip install -q --upgrade-strategy eager "invisible-watermark>=0.2.0" "transformers>=4.33" "accelerate" "onnx" "onnxruntime" safetensors "diffusers>=0.22.0"
%pip install -q gradio
SSD-1B ベースモデル
まず、目的の出力サイズの画像の生成を担当するベースモデルから始めます。SSD-1B は、Hugging Face Hub からダウンロードできます。Optimum Intel と互換性のある OpenVINO 形式ですぐに使用できるモデルがすでに提供されています。
OpenVINO モデルをロードして OpenVINO ランタイムで推論を実行するには、Diffusers の StableDiffusionXLPipeline を Optimum の OVStableDiffusionXLPipeline に置き換える必要があります。PyTorch モデルをロードして、その場で OpenVINO 形式に変換する場合は、export=True を設定できます。
save_pretrained メソッドを使用してモデルをディスクに保存できます。
from pathlib import Path
from optimum.intel.openvino import OVStableDiffusionXLPipeline


model_id = "segmind/SSD-1B"
model_dir = Path("openvino-ssd-1b")
推論デバイス SSD-1B ベースモデルを選択
OpenVINO を使用して推論を実行するためにドロップダウン・リストからデバイスを選択します。
import ipywidgets as widgets
import openvino as ov


core = ov.Core()

device = widgets.Dropdown(
    options=core.available_devices + ["AUTO"],
    value='AUTO',
    description='Device:',
    disabled=False,
)

device
Dropdown(description='Device:', index=1, options=('CPU', 'AUTO'), value='AUTO')
import gc


if not model_dir.exists():
    text2image_pipe = OVStableDiffusionXLPipeline.from_pretrained(model_id, compile=False, device=device.value, export=True, load_in_8bit=False)
    text2image_pipe.half()
    text2image_pipe.save_pretrained(model_dir)
    text2image_pipe.compile()
    gc.collect()
else:
    text2image_pipe = OVStableDiffusionXLPipeline.from_pretrained(model_dir, device=device.value)
Compiling the vae_decoder to AUTO ...
Compiling the unet to AUTO ...
Compiling the text_encoder_2 to AUTO ...
Compiling the vae_encoder to AUTO ...
Compiling the text_encoder to AUTO ...
Text2Image 生成パイプラインを実行
これで、テキストプロンプトを使用して画像を生成するモデルを実行できます。評価を高速化し、使用するメモリーを削減するため、num_inference_steps と画像サイズ (高さと幅を使用) を減らします。ニーズに合わせて、またターゲット・ハードウェアに応じて変更できます。また、結果の再現性を確保するため、特定のシードを持つ NumPy ランダム状態に基づくジェネレーターのパラメーターも指定しました。
注: デフォルトサイズ 1024x1024 の画像を生成するには、変換されたモデルがディスクからロードされる場合、SSD-1B モデルでは約 53 GB、エクスポート後に SDXL モデルでは最大 64 GB の RAM が必要です。
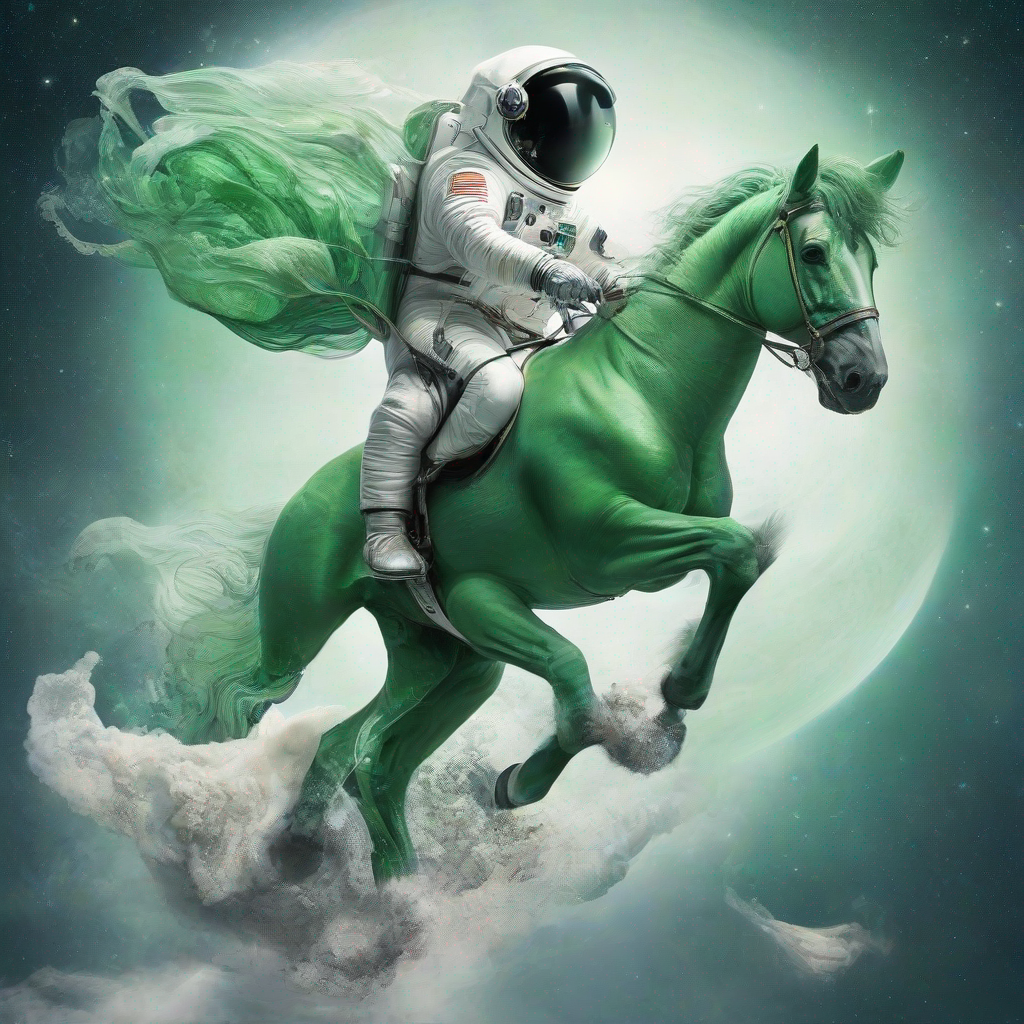
prompt = "An astronaut riding a green horse"  # Your prompt here
neg_prompt = "ugly, blurry, poor quality"  # Negative prompt here
image = text2image_pipe(prompt=prompt, num_inference_steps=15, negative_prompt=neg_prompt).images[0]
image
0%| | 0/15 [00:00<?, ?it/s]
変換されたモデルがディスクからロードされ 512x512 の画像を生成するには、SSD-1B モデルの場合は約 27 GB、SDXL モデルの場合は約 42 GB の RAM が必要です。
import numpy as np


prompt = "cute cat 4k, high-res, masterpiece, best quality, soft lighting, dynamic angle"
image = text2image_pipe(prompt, num_inference_steps=15, height=512, width=512, generator=np.random.RandomState(314)).images[0]
image
0%| | 0/15 [00:00<?, ?it/s]
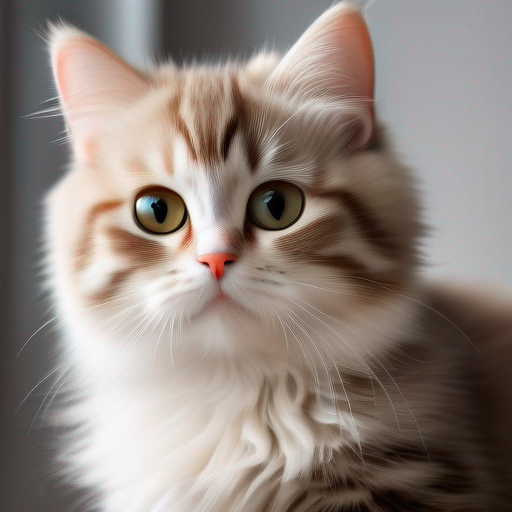
Image2Image 生成インタラクティブ・デモ
import gradio as gr
prompt = "An astronaut riding a green horse"
neg_prompt = "ugly, blurry, poor quality"
def generate_from_text(text_promt, neg_prompt, seed, num_steps):
result = text2image_pipe(text_promt, negative_prompt=neg_prompt, num_inference_steps=num_steps, generator=np.random.RandomState(seed), height=512, width=512).images[0]
return result
with gr.Blocks() as demo:
with gr.Column():
positive_input = gr.Textbox(label="Text prompt")
neg_input = gr.Textbox(label="Negative prompt")
with gr.Row():
seed_input = gr.Slider(0, 10_000_000, value=42, label="Seed")
steps_input = gr.Slider(label="Steps", value=10, step=1)
btn = gr.Button()
out = gr.Image(label="Result", type="pil", width=512)
btn.click(generate_from_text, [positive_input, neg_input, seed_input, steps_input], out)
gr.Examples([
[prompt, neg_prompt, 999, 20],
["underwater world coral reef, colorful jellyfish, 35mm, cinematic lighting, shallow depth of field, ultra quality, masterpiece, realistic", neg_prompt, 89, 20],
["a photo realistic happy white poodle dog playing in the grass, extremely detailed, high res, 8k, masterpiece, dynamic angle", neg_prompt, 1569, 15],
["Astronaut on Mars watching sunset, best quality, cinematic effects,", neg_prompt, 65245, 12],
["Black and white street photography of a rainy night in New York, reflections on wet pavement", neg_prompt, 48199, 10]
], [positive_input, neg_input, seed_input, steps_input])
try:
demo.queue().launch(debug=False)
except Exception:
demo.queue().launch(debug=False, share=True)
# if you are launching remotely, specify server_name and server_port
# demo.launch(server_name='your server name', server_port='server port in int')
# Read more in the docs: https://gradio.app/docs/
潜在的一貫性モデル (LCM)
潜在的整合性モデル (LCM) は、潜在的整合性モデル: 数ステップの推論による高解像度画像の合成で提案され、同じアプローチが SDXL 用の LCM の作成にうまく適用されています。
このチェックポイントは、segmind/SSD-1B の LCM 抽出バージョンであり、推論ステップの数を 2 ~ 8 ステップまで削減できます。
モデルは、ベース・パイプライン segmind/SSD-1B を使用してロードできます。次に、スケジューラーを LCMScheduler に変更して、推論ステップの数を 2 ~ 8 ステップに減らす必要があります。
元のモデルを推測
from diffusers import UNet2DConditionModel, DiffusionPipeline, LCMScheduler
unet = UNet2DConditionModel.from_pretrained("latent-consistency/lcm-ssd-1b", variant="fp16")
pipe = DiffusionPipeline.from_pretrained("segmind/SSD-1B", unet=unet, variant="fp16")
pipe.scheduler = LCMScheduler.from_config(pipe.scheduler.config)
pipe.to("cpu")
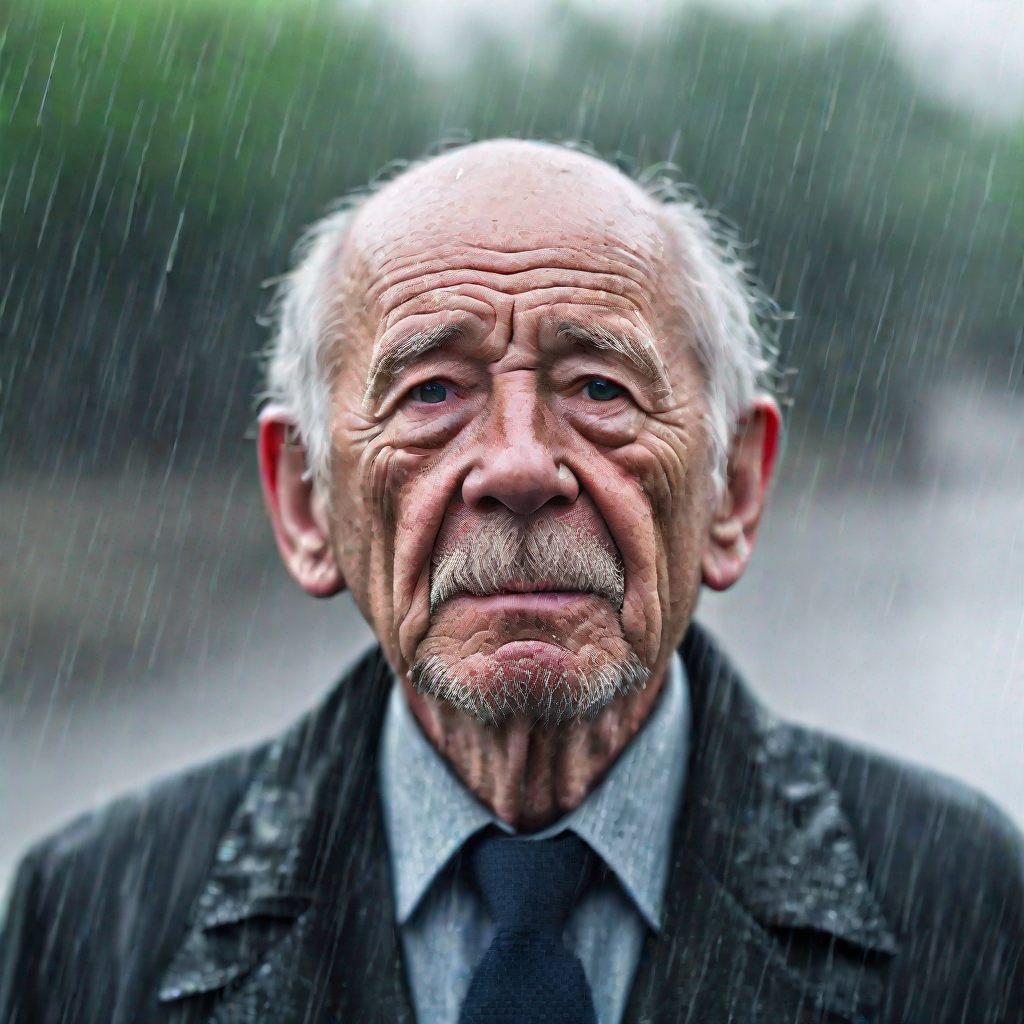
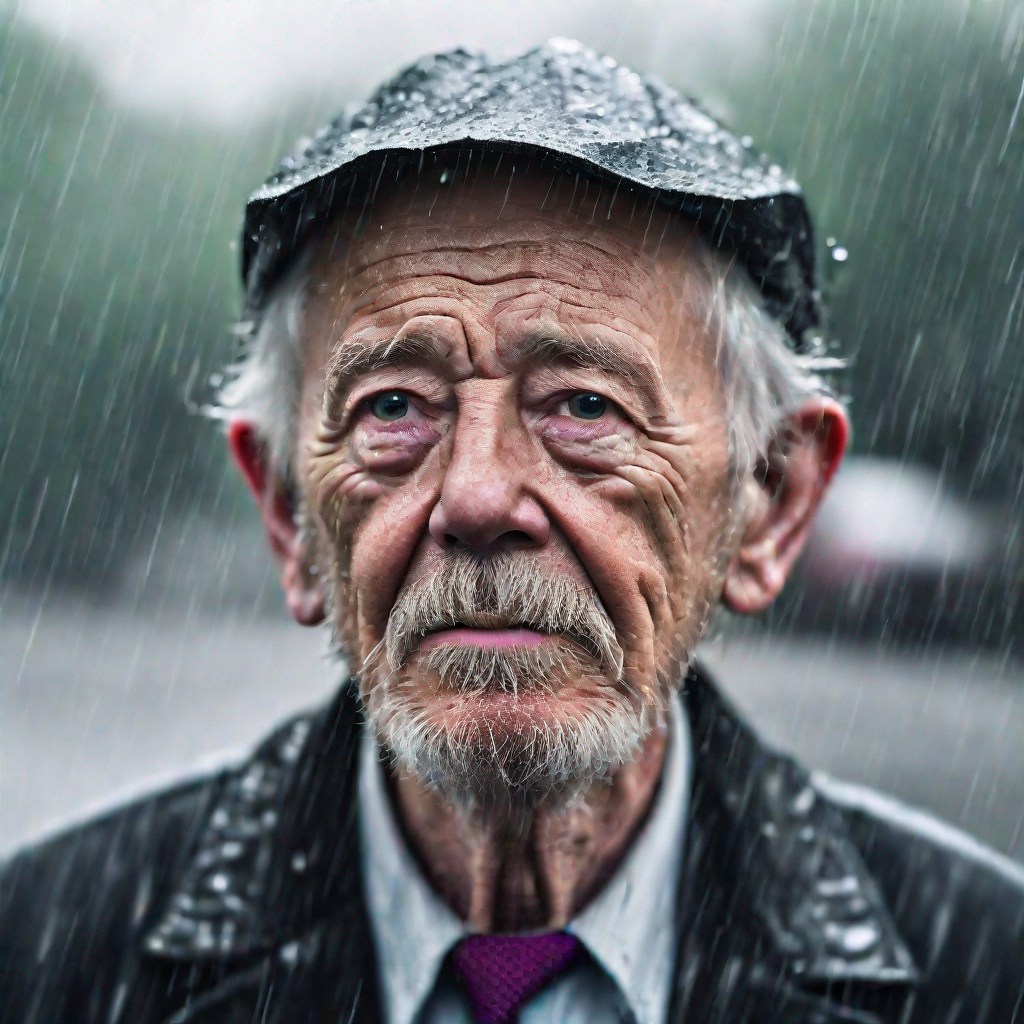
prompt = "a close-up picture of an old man standing in the rain"
image = pipe(prompt, num_inference_steps=4, guidance_scale=1.0).images[0]
image
Loading pipeline components...: 0%| | 0/7 [00:00<?, ?it/s]
The config attributes {'skip_prk_steps': True} were passed to LCMScheduler, but are not expected and will be ignored. Please verify your scheduler_config.json configuration file.
0%| | 0/4 [00:00<?, ?it/s]
モデルを OpenVINO IR に変換
パイプラインは 4 つの重要なパーツで構成されます。
テキストプロンプトから画像を生成する条件を作成する 2 つのテキスト・エンコーダー。
段階的にノイズを除去する潜像表現のための U-Net。
潜在空間を画像にデコードするオートエンコーダー (VAE)。
各パーツを変換してみましょう。
インポート
from pathlib import Path

import numpy as np
import torch

import openvino as ov
PyTorch モジュールの変換関数を定義します。ov.convert_model 関数を使用して OpenVINO 中間表現オブジェクトを取得し、ov.save_model 関数でそれを XML ファイルとして保存します。
def convert(model: torch.nn.Module, xml_path: str, example_input):
    xml_path = Path(xml_path)
    if not xml_path.exists():
        xml_path.parent.mkdir(parents=True, exist_ok=True)
        with torch.no_grad():
            converted_model = ov.convert_model(model, example_input=example_input)
        ov.save_model(converted_model, xml_path)

        # cleanup memory
        torch._C._jit_clear_class_registry()
        torch.jit._recursive.concrete_type_store = torch.jit._recursive.ConcreteTypeStore()
        torch.jit._state._clear_class_state()
VAE を変換
VAE モデルには、エンコーダーとデコーダーの 2 つのパーツがあります。エンコーダーは、画像を低次元の潜在表現に変換するのに使用され、これが U-Net モデルの入力となります。逆に、デコーダーは潜在表現を変換して画像に戻します。
潜在拡散トレーニング中、エンコーダーは、順拡散プロセス用の画像の潜在表現 (潜在) を取得するために使用され、各ステップでより多くのノイズが適用されます。推論中、逆拡散プロセスによって生成されたノイズ除去された潜在は、VAE デコーダーによって画像に変換されます。Text-to-Image の推論を実行する場合、開始点となる初期画像はありません。この手順をスキップして、初期のランダムノイズを直接生成することもできます。
Text-to-Image パイプラインを実行すると、VAE デコーダーのみが必要であることが分かります。
VAE_OV_PATH = Path('model/vae_decoder.xml')


class VAEDecoderWrapper(torch.nn.Module):
    def __init__(self, vae):
        super().__init__()
        self.vae = vae

    def forward(self, latents):
        return self.vae.decode(latents)


pipe.vae.eval()
vae_decoder = VAEDecoderWrapper(pipe.vae)
latents = torch.zeros((1, 4, 64, 64))
convert(vae_decoder, str(VAE_OV_PATH), latents)
U-NET を変換
U-Net モデルは、テキスト・エンコーダーの隠れ状態に基づいて、潜在画像表現のノイズを段階的に除去します。
UNET_OV_PATH = Path('model/unet_ir.xml')


class UNETWrapper(torch.nn.Module):
    def __init__(self, unet):
        super().__init__()
        self.unet = unet

    def forward(self, sample=None, timestep=None, encoder_hidden_states=None, timestep_cond=None, text_embeds=None, time_ids=None):

        return self.unet.forward(
            sample,
            timestep,
            encoder_hidden_states,
            timestep_cond=timestep_cond,
            added_cond_kwargs={'text_embeds': text_embeds, 'time_ids': time_ids}
        )


example_input = {
    'sample': torch.rand([1, 4, 128, 128], dtype=torch.float32),
    'timestep': torch.from_numpy(np.array(1, dtype=float)),
    'encoder_hidden_states': torch.rand([1, 77, 2048], dtype=torch.float32),
    'timestep_cond': torch.rand([1, 256], dtype=torch.float32),
    'text_embeds': torch.rand([1, 1280], dtype=torch.float32),
    'time_ids': torch.rand([1, 6], dtype=torch.float32),
}


pipe.unet.eval()
w_unet = UNETWrapper(pipe.unet)
convert(w_unet, UNET_OV_PATH, example_input)
エンコーダーを変換
テキスト・エンコーダーは、入力プロンプトを次のステージの U-Net に送ることができる埋め込みスペースに変換する役割を担います。これは通常、入力トークンのシーケンスを潜在テキスト埋め込みのシーケンスにマッピングする単純なトランスフォーマー・ベースのエンコーダーです。
class EncoderWrapper(torch.nn.Module):
    def __init__(self, encoder):
        super().__init__()
        self.encoder = encoder

    def forward(
        self,
        input_ids=None,
        output_hidden_states=None,
    ):
        encoder_outputs = self.encoder(input_ids, output_hidden_states=output_hidden_states, return_dict=torch.tensor(True))

        return encoder_outputs[0], list(encoder_outputs.hidden_states)
TEXT_ENCODER_1_OV_PATH = Path('model/text_encoder_1.xml')
TEXT_ENCODER_2_OV_PATH = Path('model/text_encoder_2.xml')

inputs = {
    'input_ids': torch.ones((1, 77), dtype=torch.long),
    'output_hidden_states': torch.tensor(True),
}
pipe.text_encoder.eval()

w_encoder = EncoderWrapper(pipe.text_encoder)
convert(w_encoder, TEXT_ENCODER_1_OV_PATH, inputs)
pipe.text_encoder_2.eval()

w_encoder = EncoderWrapper(pipe.text_encoder_2)
convert(w_encoder, TEXT_ENCODER_2_OV_PATH, inputs)
OpenVINO を使用して推論を実行するデバイスをドロップダウン・リストから選択します。
import ipywidgets as widgets

core = ov.Core()

device = widgets.Dropdown(
    options=core.available_devices + ["AUTO"],
    value='CPU',
    description='Device:',
    disabled=False,
)

device
Dropdown(description='Device:', options=('CPU', 'AUTO'), value='CPU')
compiled_unet = core.compile_model(UNET_OV_PATH, device.value)
compiled_text_encoder = core.compile_model(TEXT_ENCODER_1_OV_PATH, device.value)
compiled_text_encoder_2 = core.compile_model(TEXT_ENCODER_2_OV_PATH, device.value)
compiled_vae = core.compile_model(VAE_OV_PATH, device.value)
元の DiffusionPipeline クラスとの対話を可能にするため、コンパイルされたモデルの呼び出し可能なラッパークラスを作成します。
from collections import namedtuple


class EncoderWrapper:
    dtype = torch.float32  # accessed in the original workflow

    def __init__(self, encoder, orig_encoder):
        self.encoder = encoder
        self.modules = orig_encoder.modules  # accessed in the original workflow
        self.config = orig_encoder.config  # accessed in the original workflow

    def __call__(self, input_ids, **kwargs):
        output_hidden_states = kwargs['output_hidden_states']
        inputs = {
            'input_ids': input_ids,
            'output_hidden_states': output_hidden_states
        }
        output = self.encoder(inputs)

        hidden_states = []
        hidden_states_len = len(output)
        for i in range(1, hidden_states_len):
            hidden_states.append(torch.from_numpy(output[i]))

        BaseModelOutputWithPooling = namedtuple("BaseModelOutputWithPooling", 'last_hidden_state hidden_states')
        output = BaseModelOutputWithPooling(torch.from_numpy(output[0]), hidden_states)
        return output
class UnetWrapper:

    def __init__(self, unet, unet_orig):
        self.unet = unet
        self.config = unet_orig.config  # accessed in the original workflow
        self.add_embedding = unet_orig.add_embedding  # accessed in the original workflow

    def __call__(self, *args, **kwargs):

        latent_model_input, t = args
        inputs = {
            'sample': latent_model_input,
            'timestep': t,
            'encoder_hidden_states': kwargs['encoder_hidden_states'],
            'timestep_cond': kwargs['timestep_cond'],
            'text_embeds': kwargs['added_cond_kwargs']['text_embeds'],
            'time_ids': kwargs['added_cond_kwargs']['time_ids']
        }


        output = self.unet(inputs)

        return torch.from_numpy(output[0])
class VAEWrapper:
    dtype = torch.float32  # accessed in the original workflow

    def __init__(self, vae, vae_orig):
        self.vae = vae
        self.config = vae_orig.config  # accessed in the original workflow

    def decode(self, latents, return_dict=False):
        output = self.vae(latents)[0]
        output = torch.from_numpy(output)

        return [output]
パイプラインにラッパー・インスタンスを挿入します。
pipe.unet = UnetWrapper(compiled_unet,pipe.unet)
pipe.text_encoder = EncoderWrapper(compiled_text_encoder, pipe.text_encoder)
pipe.text_encoder_2 = EncoderWrapper(compiled_text_encoder_2, pipe.text_encoder_2)
pipe.vae = VAEWrapper(compiled_vae, pipe.vae)
image = pipe(prompt, num_inference_steps=4, guidance_scale=1.0).images[0]

image
0%| | 0/4 [00:00<?, ?it/s]
import gradio as gr
prompt = "An astronaut riding a green horse"
neg_prompt = "ugly, blurry, poor quality"
def generate_from_text(text_promt, neg_prompt, seed, num_steps):
result = pipe(text_promt, negative_prompt=neg_prompt, num_inference_steps=num_steps, guidance_scale=1.0, generator=torch.Generator().manual_seed(seed), height=1024, width=1024).images[0]
return result
with gr.Blocks() as demo:
with gr.Column():
positive_input = gr.Textbox(label="Text prompt")
neg_input = gr.Textbox(label="Negative prompt")
with gr.Row():
seed_input = gr.Slider(0, 10_000_000, value=42, label="Seed")
steps_input = gr.Slider(label="Steps", value=4, minimum=2, maximum=8, step=1)
btn = gr.Button()
out = gr.Image(label="Result", type="pil", width=1024)
btn.click(generate_from_text, [positive_input, neg_input, seed_input, steps_input], out)
gr.Examples([
[prompt, neg_prompt, 999, 4],
["underwater world coral reef, colorful jellyfish, 35mm, cinematic lighting, shallow depth of field, ultra quality, masterpiece, realistic", neg_prompt, 89, 4],
["a photo realistic happy white poodle dog playing in the grass, extremely detailed, high res, 8k, masterpiece, dynamic angle", neg_prompt, 1569, 4],
["Astronaut on Mars watching sunset, best quality, cinematic effects,", neg_prompt, 65245, 4],
["Black and white street photography of a rainy night in New York, reflections on wet pavement", neg_prompt, 48199, 4]
], [positive_input, neg_input, seed_input, steps_input])
try:
demo.queue().launch(debug=False)
except Exception:
demo.queue().launch(debug=False, share=True)
# if you are launching remotely, specify server_name and server_port
# demo.launch(server_name='your server name', server_port='server port in int')
# Read more in the docs: https://gradio.app/docs/