画像処理 C++ デモ#
このデモでは、選択した処理の種類に従って画像を処理します。デモは次のタイプで動作します:
super_resolutionjpeg_restorationstyle_transfer
例#
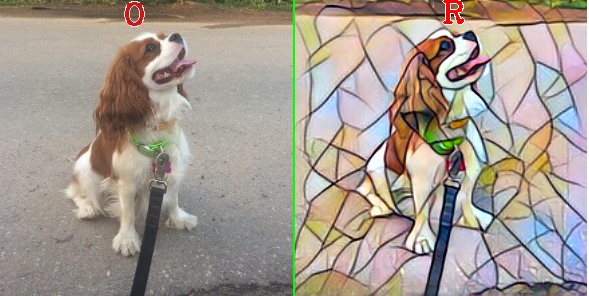
結果フレーム上のすべての画像には、次のフラグのいずれかがマークされます:
‘O’ - 元のイメージ。
‘R’ - 結果のイメージ。
‘D’ - イメージの差分 (|結果 - オリジナル|)。
super_resolution タイプの例:
低解像度:
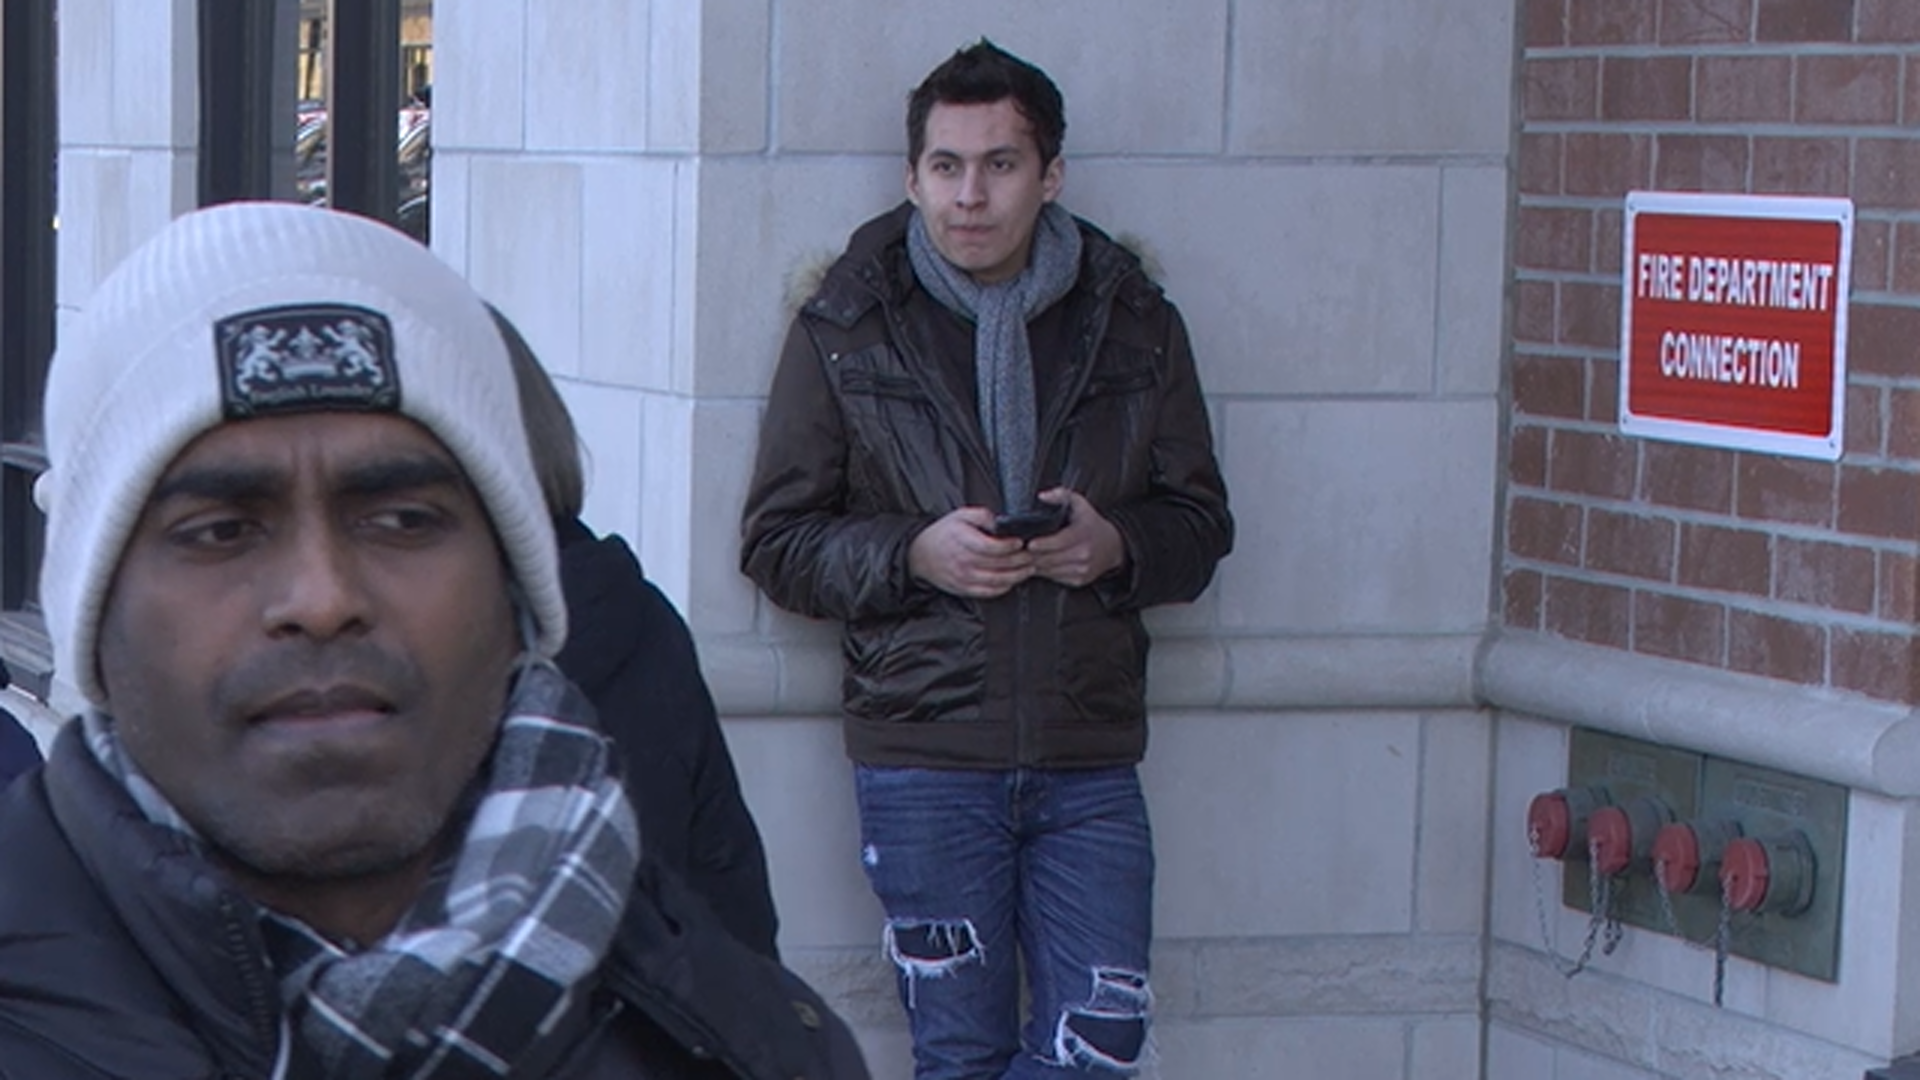
バイキュービック補間:
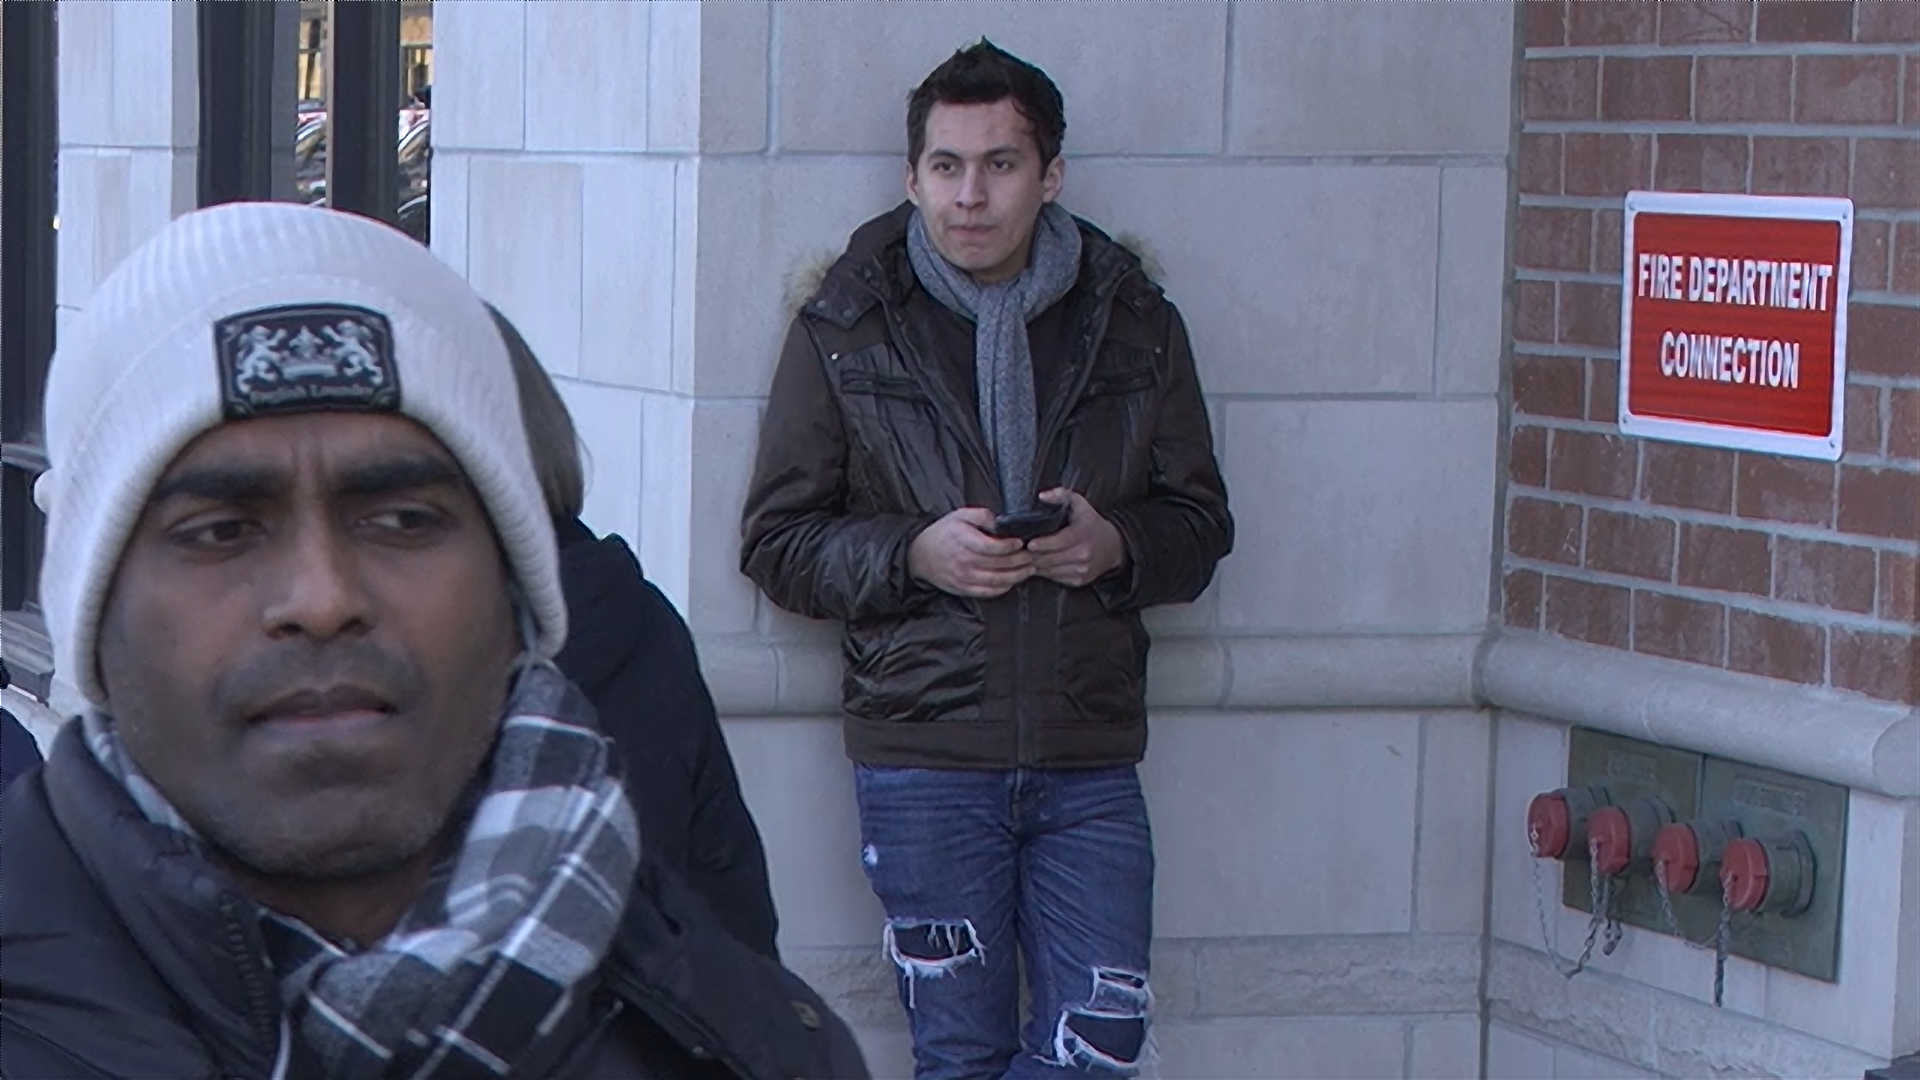
超解像:
jpeg_restoration タイプの例:
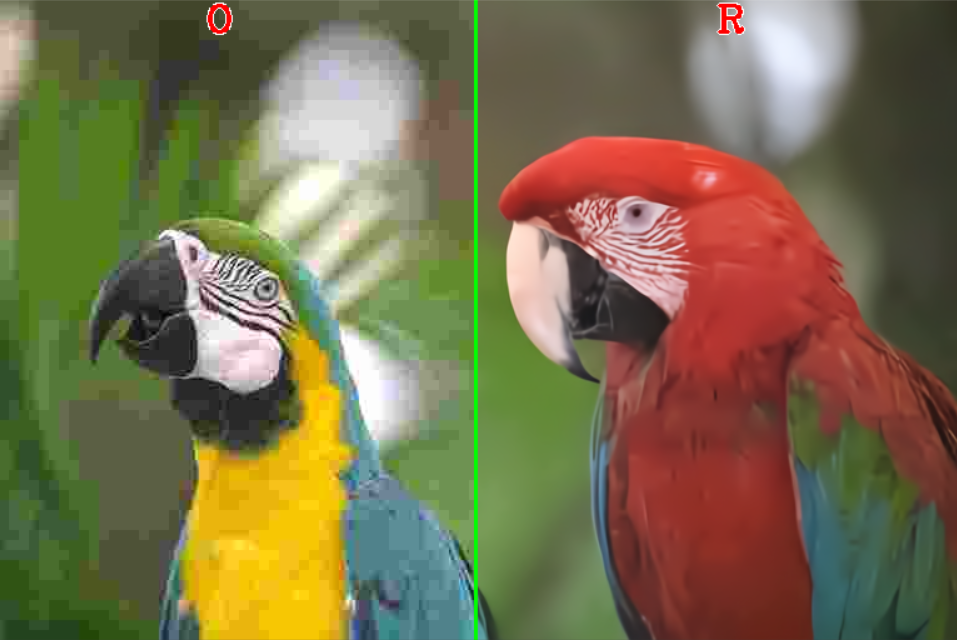
このタイプの画像処理では、-jc フラグを使用できます。これにより、推論の前に圧縮を実行できます (高品質の JPEG 画像でモデルをテストしたい場合に便利です)。
style_transfer の例:
どのように動作するか#
デモを実行する前に、処理のタイプと処理のモデルを選択する必要があります。super_resolution の場合、次のモデルを選択できます:
single-image-super-resolution-1032 は入力画像の解像度を 4 倍に高めます。
single-image-super-resolution-1033 は入力画像の解像度を 3 倍に高めます。
text-image-super-resolution-0001 - 小さなモデルからテキスト付きの 3 倍のアップスケール・スキャン画像まで。
jpeg_restoration の場合、JPEG アーティファクトを除去する柔軟なブラインド畳み込みニューラル・ネットワークである fbcnn を使用できます。
style_transfer の場合、fast-neural-style-mosaic-onnx を使用できます。これは、画像のコンテンツと別の画像のスタイルを組み合わせるように設計されたスタイル転送モデルの 1 つです。
デモでは推論が実行され、入力からキャプチャーされた各画像の結果が表示されます。同時に処理する推論要求の数 (-nireq パラメーター) に応じて、パイプラインは各単一イメージの処理に必要な時間を最小限に抑えるか (nireq 1 の場合)、デバイスの使用率と全体的な処理パフォーマンスを最大化します。
注: デフォルトでは、Open Model Zoo のデモは BGR チャネル順序での入力を期待します。RGB 順序で動作するようにモデルをトレーニングした場合は、サンプルまたはデモ・アプリケーションでデフォルトのチャネル順序を手動で再配置するか、
--reverse_input_channels引数を指定したモデル・オプティマイザー・ツールを使用してモデルを再変換する必要があります。引数の詳細については、[前処理計算の埋め込み](@ref openvino_docs_MO_DG_Additional_Optimization_Use_Cases) の入力チャネルを反転するセクションを参照してください。
実行の準備#
デモの入力画像またはビデオファイルについては、Open Model Zoo デモの概要のデモに使用できるメディアファイルのセクションを参照してください。デモでサポートされるモデルリストは、<omz_dir>/demos/image_processing_demo/cpp/models.lst ファイルにあります。このファイルは、モデル・ダウンローダーおよびコンバーターのパラメーターとして使用され、モデルをダウンロードし、必要に応じて OpenVINO IR 形式 (*.xml + *.bin) に変換できます。
サポートされるモデル#
single-image-super-resolution-1032
single-image-super-resolution-1033
text-image-super-resolution-0001
fbcnn
fast-neural-style-mosaic-onnx
注: 各種デバイス向けのモデル推論サポートの詳細については、インテルの事前トレーニング・モデルのデバイスサポートとパブリックの事前トレーニング・モデルのデバイスサポートの表を参照してください。
実行する#
-h オプションを指定してデモを実行すると、ヘルプメッセージが表示されます:
image_processing_demo [OPTION]
Options:

    -h                        Print a usage message.
    -at "<type>"              Required. Type of the model, either 'sr' for Super Resolution task, 'sr_channel_joint' for Super Resolution model that accepts and returns 1 channel image, 'jr' for JPEGRestoration, 'style' for Style Transfer task.
    -i "<path>"               Required.An input to process.The input must be a single image, a folder of images, video file or camera id.
    -m "<path>"               Required. Path to an .xml file with a trained model.
    -layout "<string>"        Optional.Specify inputs layouts.Ex.NCHW or input0:NCHW,input1:NC in case of more than one input.
    -o "<path>"               Optional. Name of the output file(s) to save.Frames of odd width or height can be truncated.See https://github.com/opencv/opencv/pull/24086
    -limit "<num>" Optional.Number of frames to store in output.If 0 is set, all frames are stored.
    -d "<device>"            Optional.Specify the target device to infer on (the list of available devices is shown below).Default value is CPU.Use "-d HETERO:<comma-separated_devices_list>" format to specify HETERO plugin.The demo will look for a suitable plugin for a specified device.
    -nireq "<integer>"        Optional. Number of infer requests.If this option is omitted, number of infer requests is determined automatically.
    -nthreads "<integer>"     Optional.Number of threads.
    -nstreams                 Optional. Number of streams to use for inference on the CPU or/and GPU in throughput mode (for HETERO and MULTI device cases use format <device1>:<nstreams1>,<device2>:<nstreams2> or just <nstreams>)
    -loop                     Optional. Enable reading the input in a loop.
    -no_show                  Optional. Do not show processed video. If disabled and --output_resolution isn't set, the resulting image is resized to a default view size: 1000x600 but keeping the aspect ratio
    -output_resolution        Optional.Specify the maximum output window resolution in (width x height) format.Example: 1280x720.Input frame size used by default.
    -u                        Optional.List of monitors to show initially.
    -jc                       Optional. Flag of using compression for jpeg images. Default value if false. Only for jr architecture type.
    -reverse_input_channels   Optional. Switch the input channels order from BGR to RGB.
    -mean_values              Optional. Normalize input by subtracting the mean values per channel.Example: "255.0 255.0 255.0"
    -scale_values             Optional. Divide input by scale values per channel.Division is applied after mean values subtraction.Example: "255.0 255.0 255.0"
次のコマンドを使用すると、事前トレーニング済みの single-image-super-resolution-1033 ネットワークを使用してカメラでキャプチャーされた画像の解像度を向上できます:
./image_processing_demo -i 0 -m single-image-super-resolution-1033.xml -at srモード#
デモ・アプリケーションは 3 つのモードをサポートしています:
結果画像を表示します。
元の画像と結果を一緒に表示します (左側が結果、右側がオリジナル)。セパレーターの位置はトラックバーのスライダーで指定します。
差分画像と結果を合わせて表示します。2 番目のモードと同様。
次のキーを使用して実行時にモードを変更できます:
R は結果を表示します。
O は元の画像と結果を表示します。
V は結果との差分画像を表示します。
[Esc] または [Q] で終了します
-o オプションを使用すると、処理結果を Motion JPEG AVI ファイル、または別の JPEG または PNG ファイルに保存できます:
処理結果を AVI ファイルに保存するには、
avi拡張子を付けた出力ファイル名を指定します (例:-o output.avi)。処理結果を画像として保存するには、出力画像ファイルのテンプレート名を拡張子
jpgまたはpngで指定します (例:-o output_%03d.jpg)。実際のファイル名は、実行時に正規表現%03dをフレーム番号に置き換えることによってテンプレートから構築され、output_000.jpg、output_001.jpgなどになります。カメラなど連続入力ストリームでディスク領域のオーバーランを避けるため、limitオプションを使用して出力ファイルに保存されるデータの量を制限できます。デフォルト値は 1000 です。これを変更するには、-limit Nオプションを適用します。ここで、Nは保存するフレームの数です。
注: Windows* システムには、デフォルトでは Motion JPEG コーデックがインストールされていない場合があります。この場合、OpenVINO ™ インストール・パッケージに付属する、
<INSTALL_DIR>/opencv/ffmpeg-download.ps1にある PowerShell スクリプトを使用して OpenCV FFMPEG バックエンドをダウンロードできます。OpenVINO ™ がシステムで保護されたフォルダーにインストールされている場合 (一般的なケース)、スクリプトは管理者権限で実行する必要があります。あるいは、結果を画像として保存することもできます。
デモの出力#
このデモでは、OpenCV を使用して、結果のイメージを表示および書き込みます。デモレポート:
FPS: ビデオフレーム処理の平均レート (1 秒あたりのフレーム数)。
レイテンシー: 1 フレームの処理 (フレームの読み取りから結果の表示まで) に必要な平均時間。
次の各パイプライン・ステージのレイテンシー:
デコード — 入力データをキャプチャー。
前処理 — 推論のためのデータの準備。
推論 — 入力データ (画像) を推論して結果を取得。
後処理 — 出力用の推論結果を準備。
レンダリング — 出力画像を生成。
これらのメトリックを使用して、アプリケーション・レベルのパフォーマンスを測定できます。